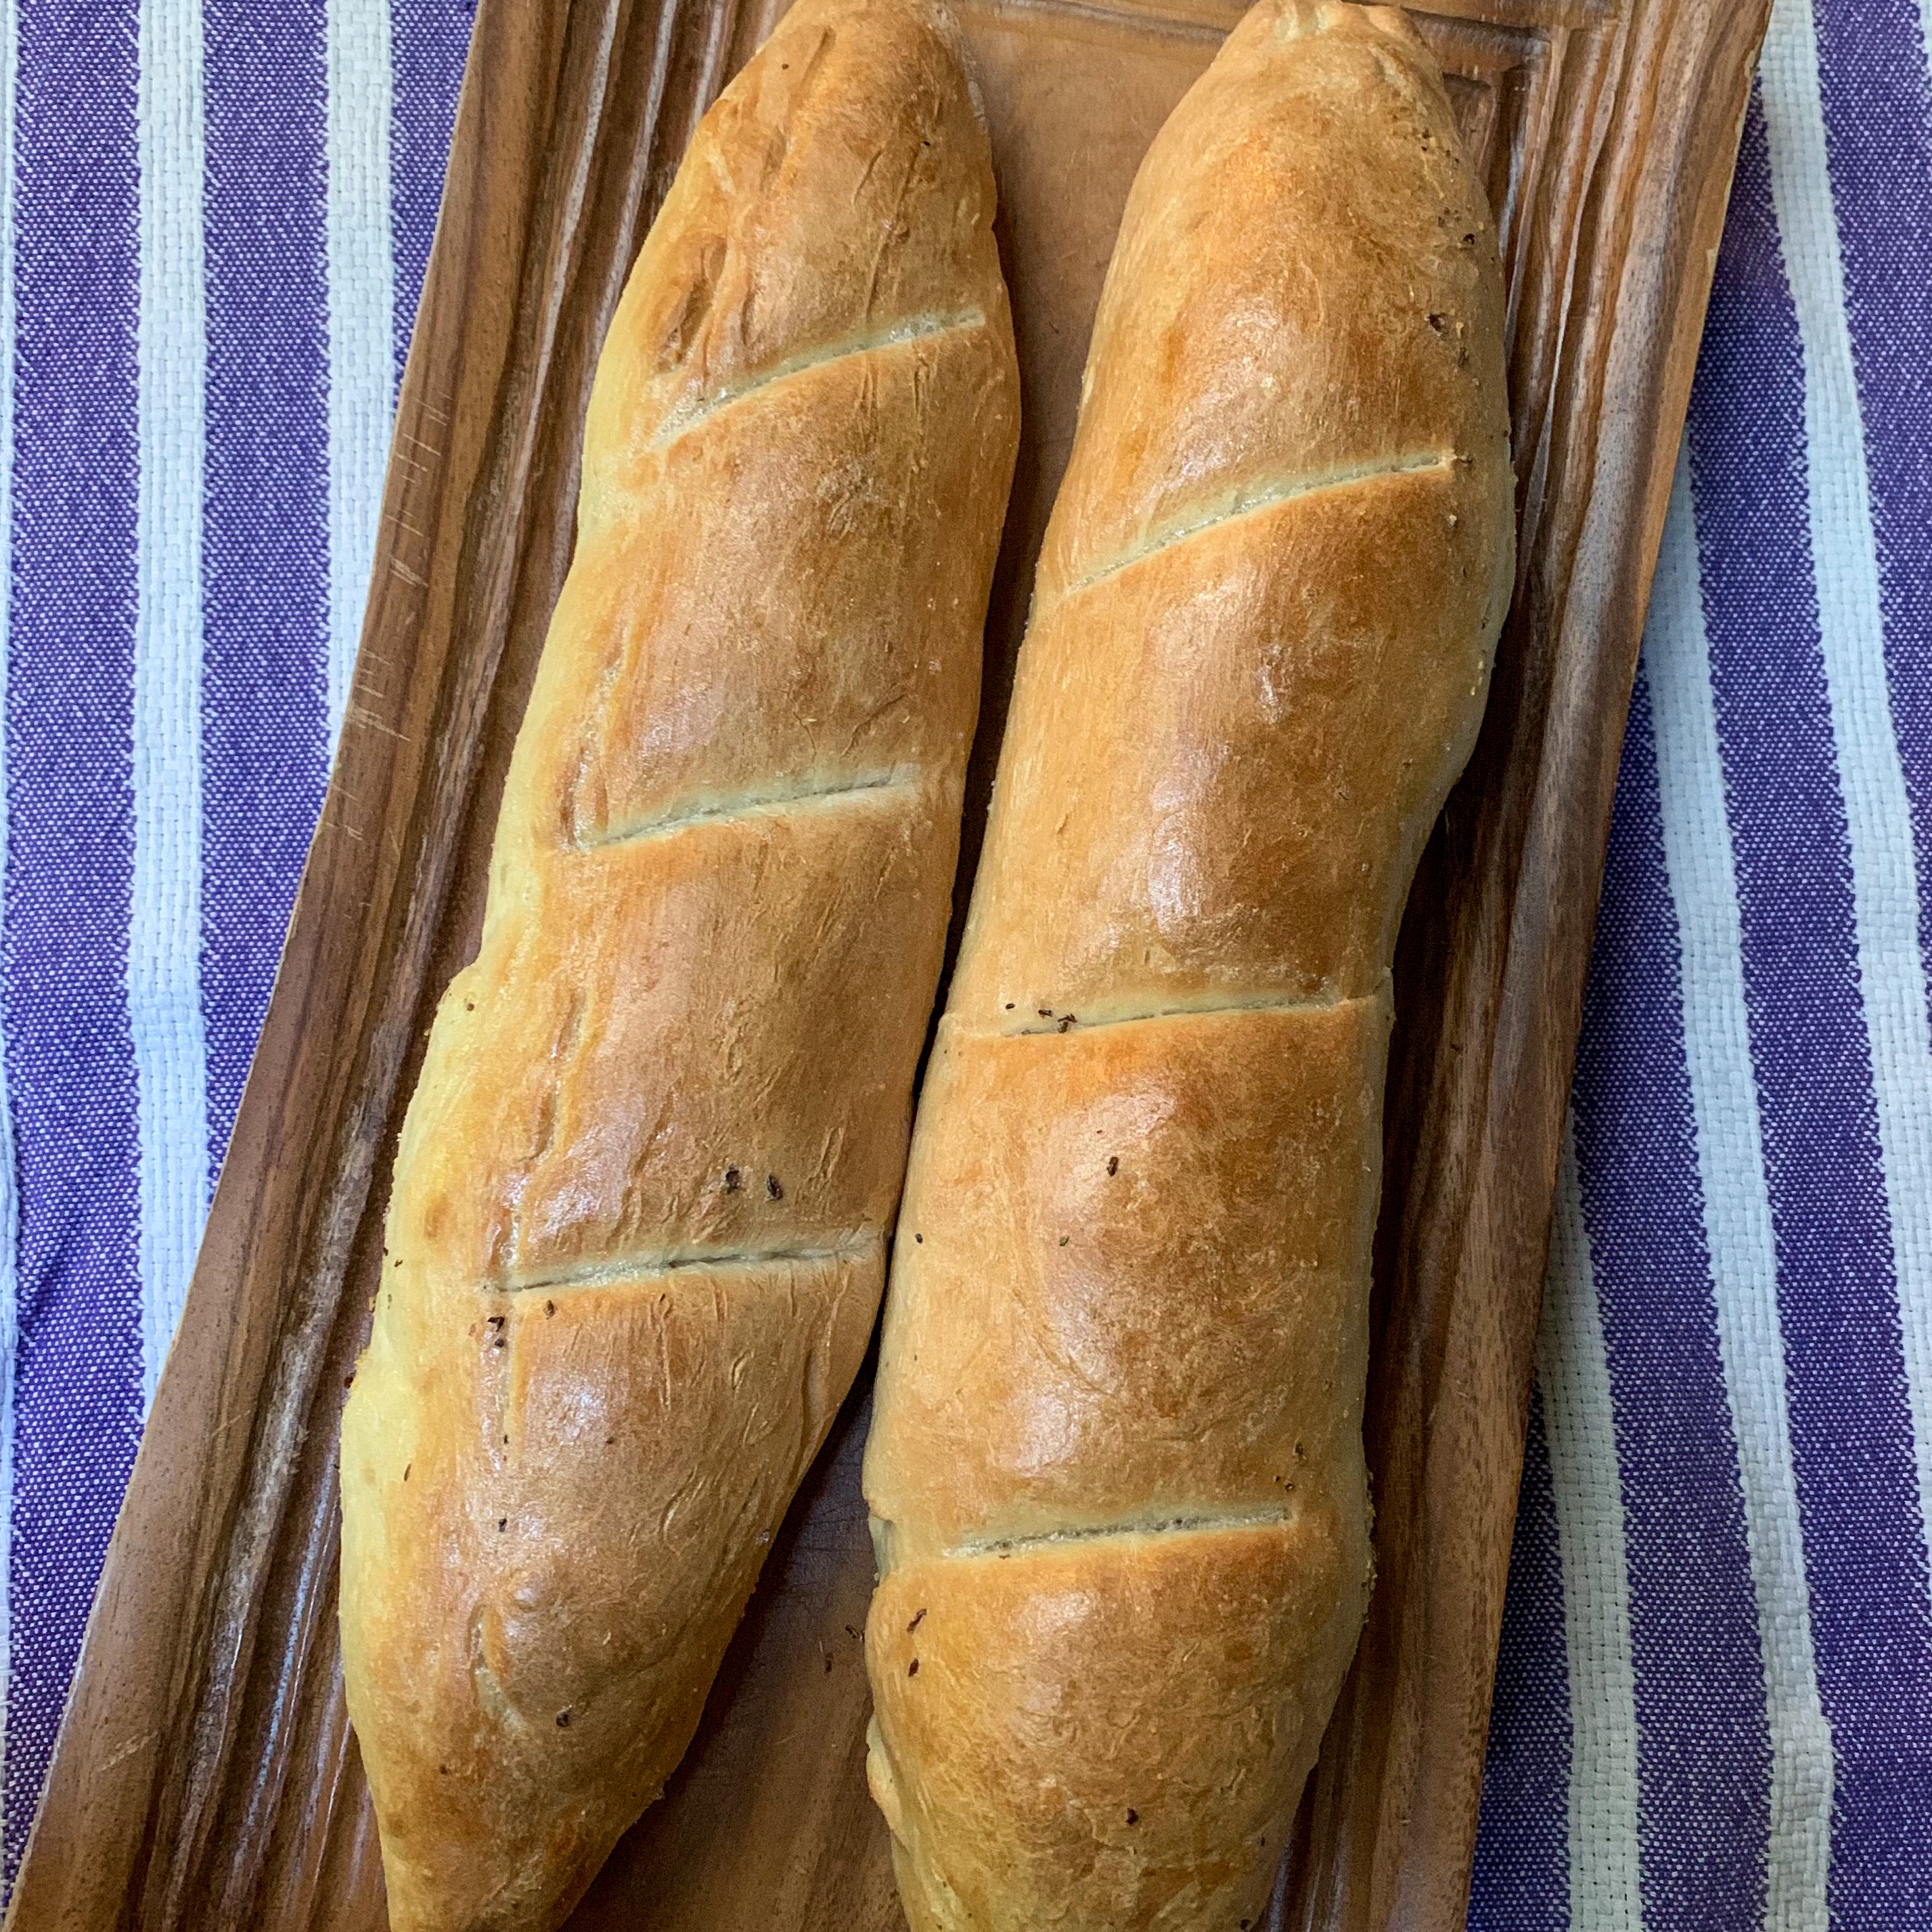
This recipe will give you delicious bread that’s soft on the inside and crispy on the outside: perfect for dipping into a soup or sopping up a tasty sauce. My favorite thing about this recipe is you can get it started in the morning and it’ll be ready to break into by dinner time. No overnight rising needed!
What’s the deal with the flour?
You may be thinking “Hey! This is whole wheat…so why are we including AP flour here as well?”. That’s a good question! You can definitely make bread with 100% whole wheat flour, but be warned, it’s probably going to be pretty dense. The reason for that is that whole wheat flour has very little gluten which is needed to give bread some structure and airiness.
However, you can play around with the ratio of whole wheat to regular flour. If you’d like to try 2 cups of whole wheat and only one cup of the regular, that should work as well.
Finally, I totally get it if you’re really wanting 100% whole wheat flour. In that case, you’re going to need to get some vital wheat gluten to include along with the whole wheat flour. You’ll only need about 1 tablespoon to help give the bread that nice, airy texture.
Please all rise for active dry yeast!
Probably THE key ingredient in bread-making is the yeast. It may seem weird if you haven’t used it before, but there’s nothing to be afraid of with yeast. Yes, it’s technically a living organism once activated, but I guarantee that if you’ve eaten bread before you’ve had yeast and were fine.
For this recipe you’ll need active dry yeast, which is usually sold in small packets in the baking section of grocery stores. When you use this type of yeast, you’ll want to soak it in the water for a few minutes to make sure it activates before using. If the yeast gets foamy, you’ll know it’s working. If nothing happens, you probably have a stale packet and you’ll have to try another. If you follow this recipe, and your yeast is all good, your bread should rise to about twice its original size!
Only six ingredients later...
Think of these as staple ingredients. If you have them on hand at all times, you can whip up a quick loaf of bread whenever the mood strikes.
AP and whole wheat flour Both of these are important to have in your pantry stock
Active dry yeast Grab a handful of these packets anytime you’re at the grocery store. Keep in the refrigerator after opening so they stay fresh
Extra virgin olive oil Do I even need to explain why this is a kitchen necessity?
Water and salt If you don’t have these two things, I’m guessing you don’t have a kitchen
Now grab an apron, and make some bread!
⟶ the recipe
crispy whole wheat boule

ingredients
2 teaspoons active dry yeast
1 ½ cups warm water
1 tablespoon olive oil
1 ½ cups all-purpose flour
1 ½ cups whole wheat flour
1 teaspoon salt
Prep time
3 hours 20 minutes
Cook time
40 minutes
Total time
4 hours
1 loaf
instructions
In a large bowl, activate the yeast in the water for a few minutes. (You know it’s been activated when it takes on a foamy appearance.) Mix in the olive oil, both flours, and the salt. Stir with a wooden spoon or your bare hands until combined. Cover the bowl tightly with plastic wrap and a dish towel, and let sit for about three hours at room temperature.
When you’re about an hour away from baking, preheat the oven to 450 degrees and place a large Dutch oven inside to heat up.
Your dough should have risen to about twice it’s original size. Sprinkle some flour on the counter and lightly coat your dough with it while stretching and folding a few times.
Shape dough into a circle and transfer to a piece of parchment paper. Remove your Dutch oven and carefully place parchment paper with the bread inside. Using a bread lame or very sharp knife, mark an “X” in the top of your dough.
Bake with the lid on for about 30 minutes. Remove the lid and bake for 10 more minutes or until the bread is beginning to brown on the top. Allow the bread to cool in the Dutch oven for a few minutes, and then carefully lift it out and transfer to a cooling rack until ready to serve.
⟶ recipe notes
- When I’m combining the ingredients, it’s a bit messy, but I always like to use my hands. It’s so much easier than trying to move a spoon through the thick flour mixture, and using hands ensures that everything gets mixed up super well
⟶ modifications
- See the section on flours above, if you’d prefer to use all whole wheat flour
⟶ storage
- When storing your bread, make sure to keep it in a bread container or wrap it tightly in foil so it stays fresh and doesn’t get too hard. You can also pop it back in the oven when you eat it for the second time, but don’t do this too many times or it will get tough much more quickly!


